
Let me first say that I do not have a green thumb…but I do love plants! And I like the way plants add color and texture to our front porch. So one of the projects for our front porch are plant stands for the plants that have the willpower to survive my planting skills. This is the easiest DIY plant stand to make…anyone can make it!
I bought a plant stand over three years ago that I never used, it’s been sitting in a box in our garage. By the time I got around to putting it together, I didn’t like the style anymore. But the wood was still great so I knew I could rework it. If you don’t have wood laying around you can use, you should be able to purchase what you need for under $20. Check the local lumberyard and woodworker’s stores for scrap wood. Home Depot has a bin with cheap, scrap lumber.
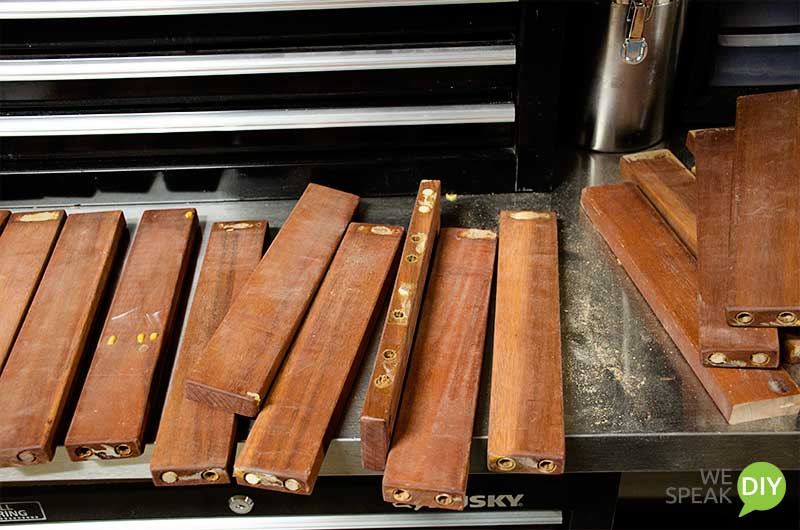
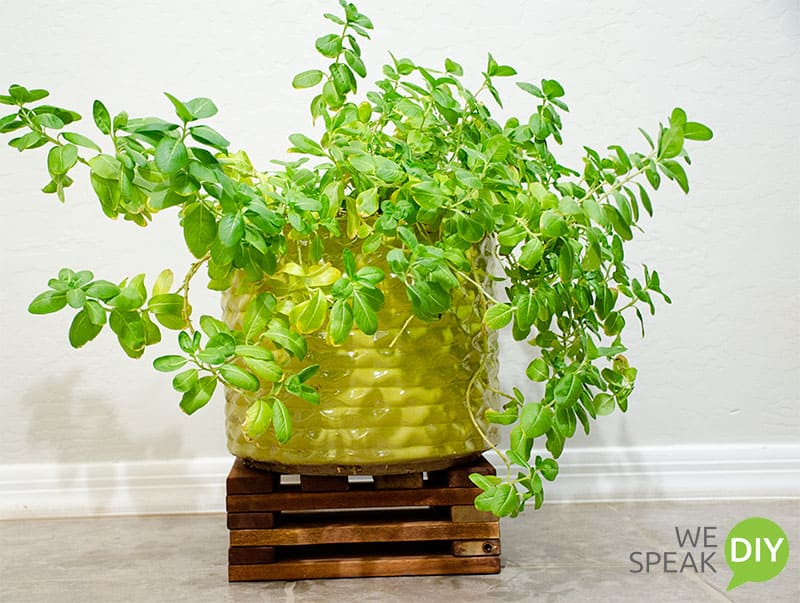
It only takes wood, wood glue and galvanized nails to build this plant stand. If you have a nail gun, it’s even easier. I used 16 gauge 1 1/4 finishing nails. The wood I used was 3/4 inches thick and 2 inches wide so my plant stand is 11 inches on sides and 4 1/4 inches tall. You can build this as tall as you’d like but make sure you have enough wood to complete your project. I used a total of 14 boards. You should cut your wood the length you want your plant stand to be. It only took me about 1/2 hour to complete this from start to finish.
First cut all your boards – each board is cut exactly the same length. If you plan to paint your plant stand, now is the time to do it. It’s easier to paint the boards than to try to get into all the little nooks and crannies after you’ve got your plant stand together. Since I used wood that was already finished, I decided not to paint mine. I did have to clean up the wood and sand down some of the rough edges. You can see all the dust from the sanding! Did I tell you before – I hate to sand!
(This post contains affiliate links. For more information, read my disclosure page.)
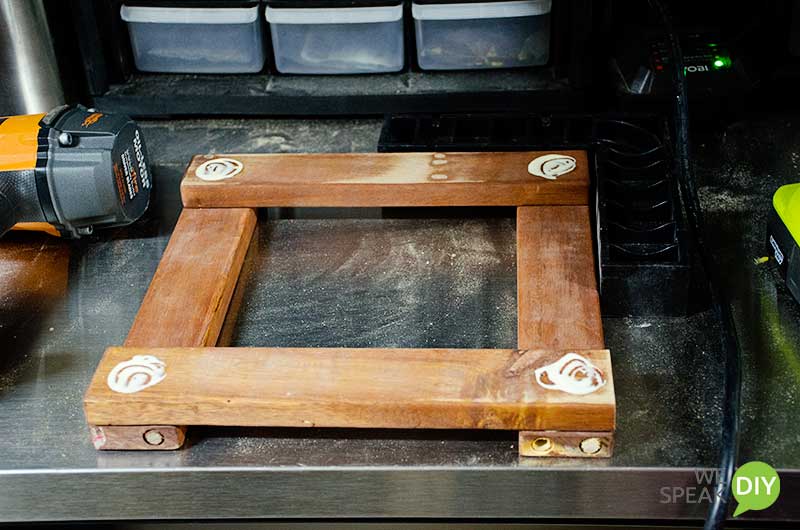
I use my Clamp-it assembly square to make sure the plant stand is square. First lay two pieces parallel then put wood glue on the ends of each of these boards. Place a piece of wood on top of each end of these two pieces of wood. Secure each corner with two galvanized nails. Keep the nails at least 3/4 inches from the end to keep it from splitting the wood. Use a small clamp to make sure the wood doesn’t slip while your nailing the wood (the glue will make it slippery).
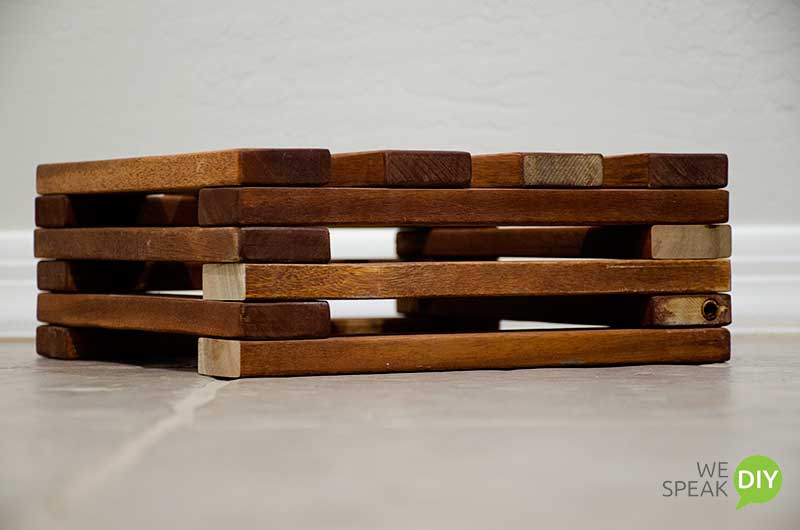
Then all you do is layer the boards alternating between sides (see pictures). When you’ve made your plant stand the height you want, fill in the top with boards, spacing them evenly.
It’s hard describing how to put this together but just look at the pictures – it’s really easy. After your plant stand is assembled, let the glue dry a few hours. That’s it…you’re done! You can add furniture glides or even casters if the plant stands will be holding really heavy plants.
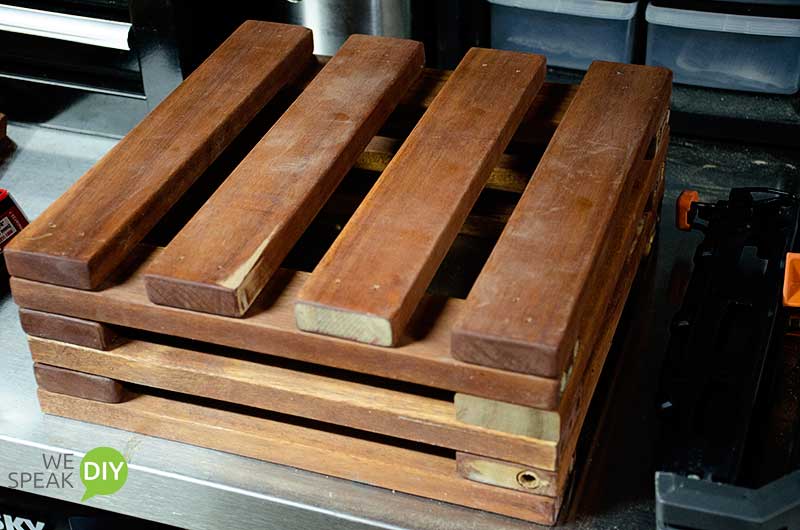
I still need to match the stain for my plant stand – you can see where I cut the ends. I’ll also fill the holes that held dowels from the original plant stand. And I think I’ll add casters to mine. You’ll see the finished project during my porch reveal in a couple of weeks so be sure to visit!


What a great idea, Teresa…. I love the look of the stands and so easy to make. Congrats!!!
Thanks Fiona! It is really easy!
Great job and it looks great!! I might try this on one of my 25 hour days!!! Keep the ideas coming.
Hey Vanessa…I know about those 25 hour days! Let me know if you give it a go!
My husband just said he’s trying this tomorrow! Thanks for posting.
Be sure to send me a picture!
Very pretty! I will have to try this in the spring.