Growing up, we spent a lot of time on the front porch. Neighbors walking by would stop to catch up on the latest gossip. Kids made a game of jumping up and down the steps. Without a doubt, our porch was a popular gathering place. My dad built that porch and all the seating that accommodated our family and friends. So, it was inevitable that I would build an outdoor bench for our porch. It’s in my genes!
The porch is an extension of our home.
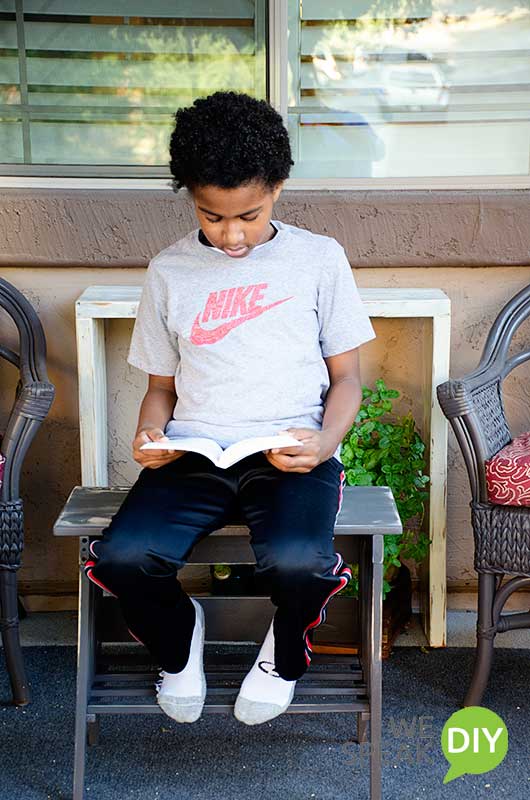
Our current home has a really small porch – nothing like the one from my childhood. The only seating is two chairs (see how we transformed our $7 chairs). Although it’s small, we want this porch to be a functional and used part of our home so it needs to be a comfortable, attractive and inviting space.
One easy way to add more function to this space is to build an outdoor bench that can serve as a table or seating. This is a quick project you can build from scrap lumber. Also, it’s useful, multi-functional and budget friendly!
You Can Use the Materials You Have on Hand to Build an Outdoor Bench
This can be a “use what you have available” projects. Look around for items you no longer need or want but can be repurposed. Additionally, projects like this are a great way to whittle down your scrap lumber stockpile. I used the sides of an IKEA planter I purchased several years ago but had never even taken from the box. See what I did with the other planter pieces here. I also used two shelves from an old bookcase and a piece of trim molding left over from another project.
Even though I recycled materials, this bench could easily be completed from regular scrap wood. Click here to download plans for a version of this bench using scrap wood.
How to Fit All the Pieces Together
(This post contains affiliate links. For more information, read my disclosure page.)
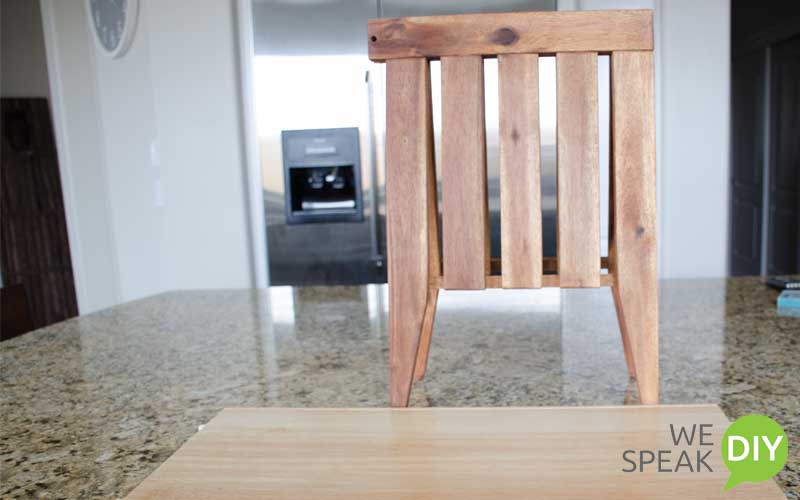
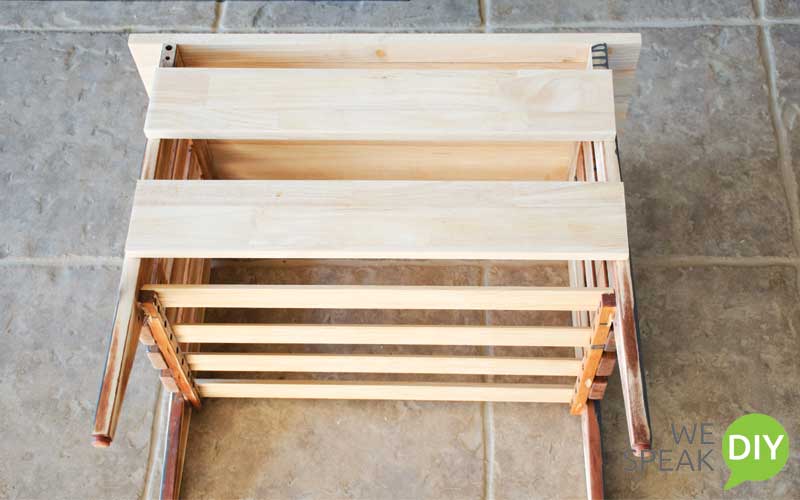
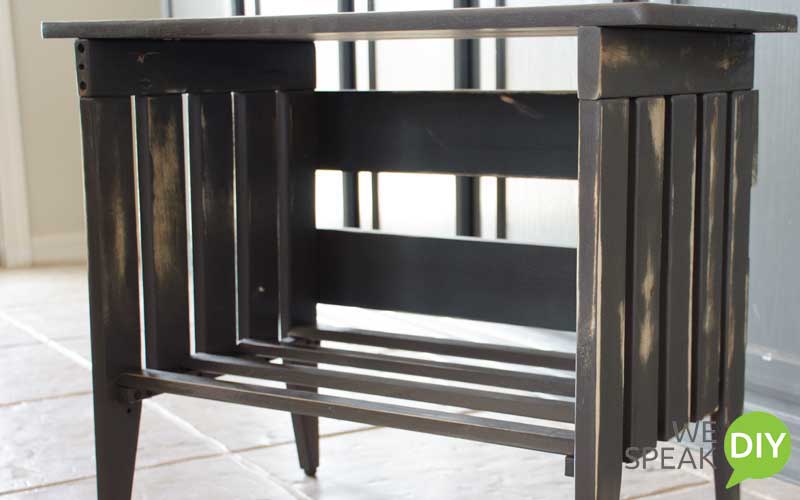
First, I trimmed the two IKEA planter ends so they were exactly the same size.
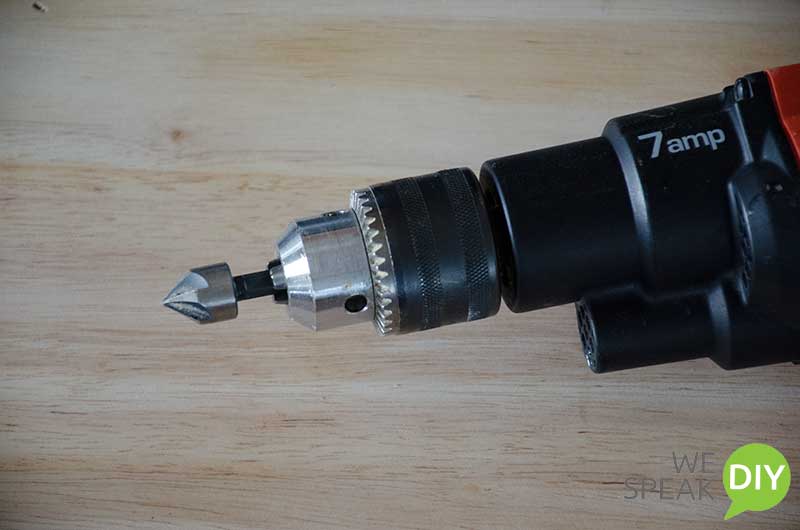
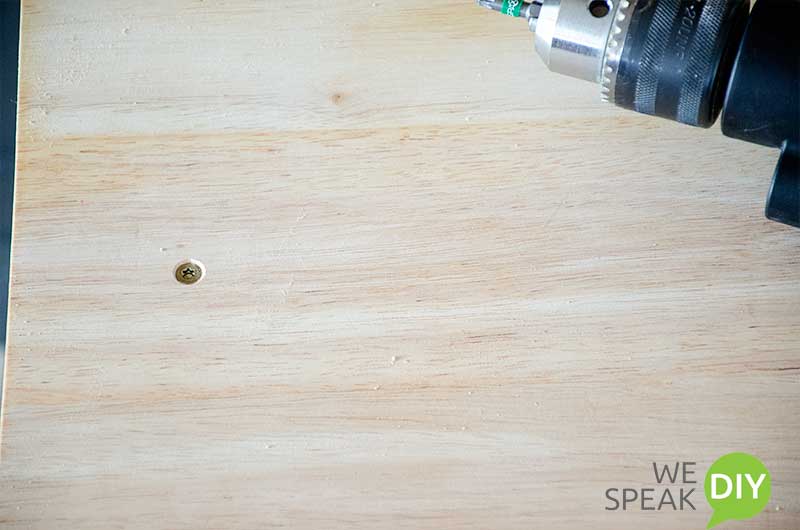
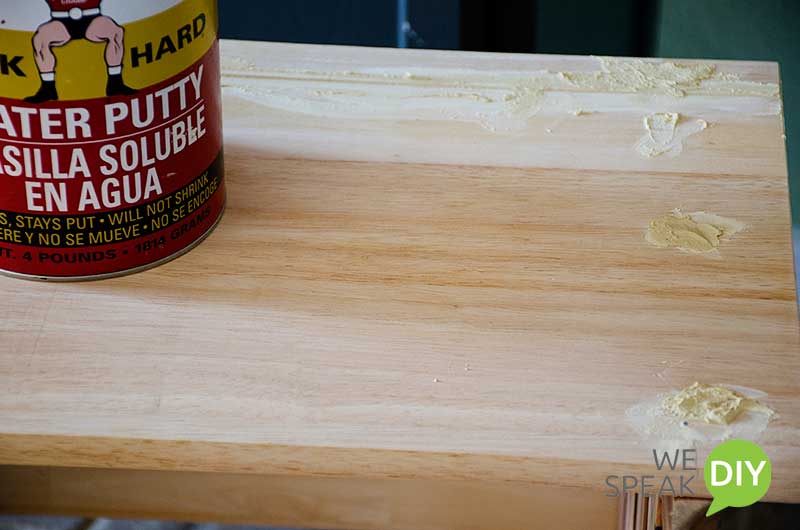
Next, I combined pieces from the two recycled book shelves to make the top of the bench. I glued the pieces together using wood glue After the glue dried, I attached the top to the planter pieces (the legs of the bench) with 1 ½ inch screws. Then, I countersunk the screws.
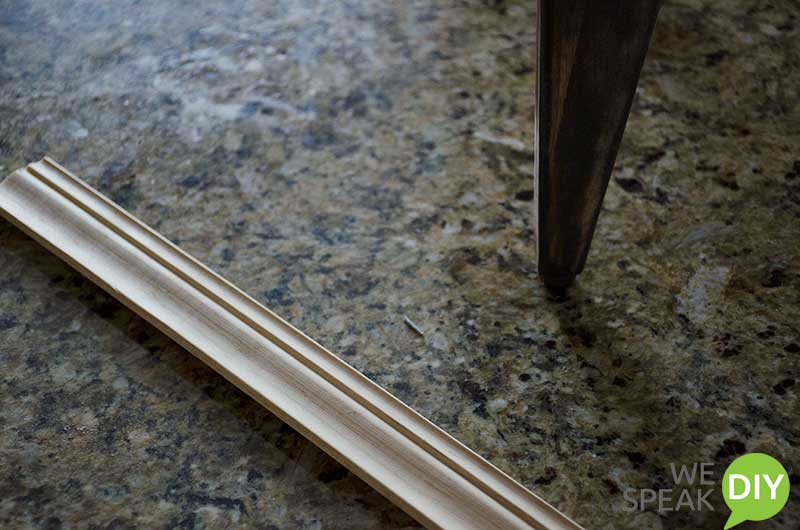
I cut the leftover trim into 19-inch pieces and used them as slats. The planter pieces already had a small ledge so I screwed the slats into the ledge.
Painting and Sanding – The Finishing Touches
Painting and sanding are the two DIY things I like least.
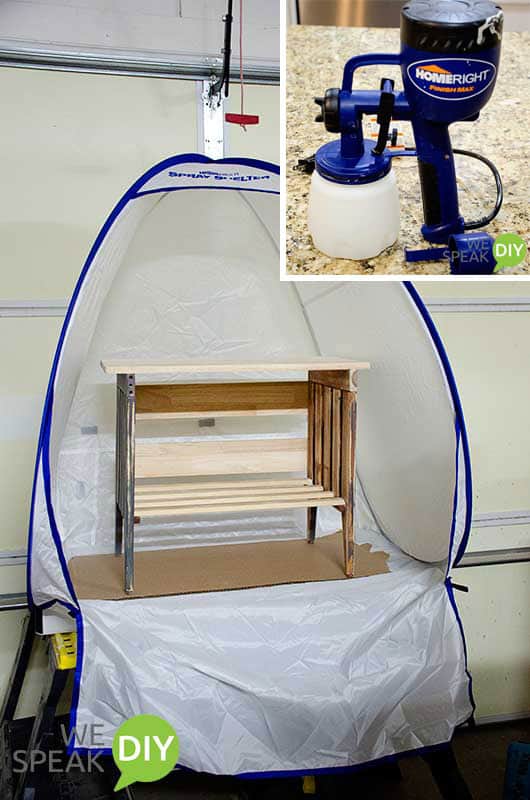
But my Homeright Paint Sprayer and Homeright Small Paint Shelter make painting a breeze. In less than 10 minutes, I had finished. !
Clean up for the sprayer only took 3 minutes! I am in love!!!
I’ve had the large Homeright Spray Shelter for about a year and it’s great for larger paint projects. But when I have to paint something small, it feels like too much to set the big shelter up for one small project. I (or my husband!) usually end up painting it by hand. But with the small shelter, I pop it up inside the garage and spray my project…painless!
After I painted the outdoor bench, I used 150 grit sandpaper and my orbital sander to distress. Done! I love how this turned out.
It is an exciting transformation and I can’t wait until our front porch is done. You can follow the progress of our porch with these posts:
- Added a painted rug for under $20
- Transformed $7 chairs into great seating
- Built the easiest plant stand ever
- Built an outdoor console table
FREE PROJECT PLANS, TIPS AND DESIGN INSPIRATION!
PIN FOR LATER
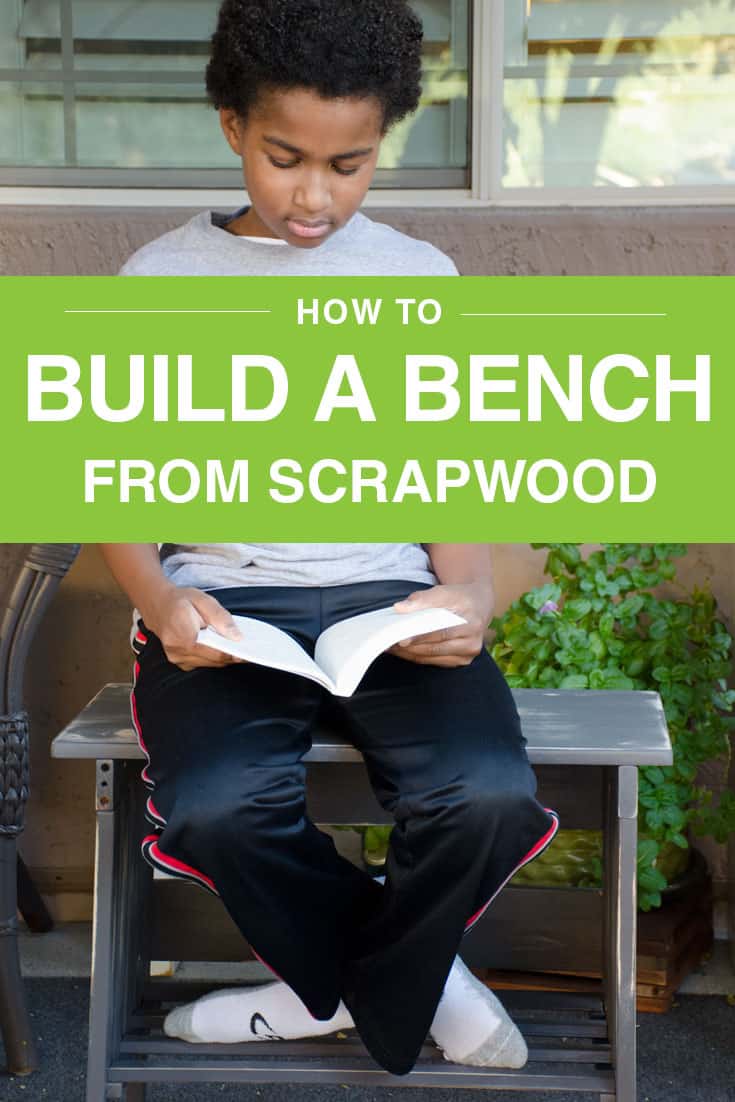


You guys are so creative! Love how the bench turned out; looks like the perfect size for your handsome little dude! 🙂
Thanks Laura! We try…our son loves this bench.
This is a great project. It looks really professional too. Looking forward to seeing the full porch reveal.
Thanks Debbie. I can’t wait until it’s done.