A Wood Plank Wall is an Easy Way to Add Interest to a Room
Originally our family room walls was a hospital mint green color (no, that wasn’t the name of the paint!). The color looked a lot better when it was in one 24 X 24 test spot than it did when it was on all the walls. By the time I realized just how bad it was, my husband had painted most of the room that color. I didn’t have the heart to tell him he’d be changing it again soon! So we lived with it for a couple of years. And I couldn’t wait to change the color of the walls and add a great wood plank wall!
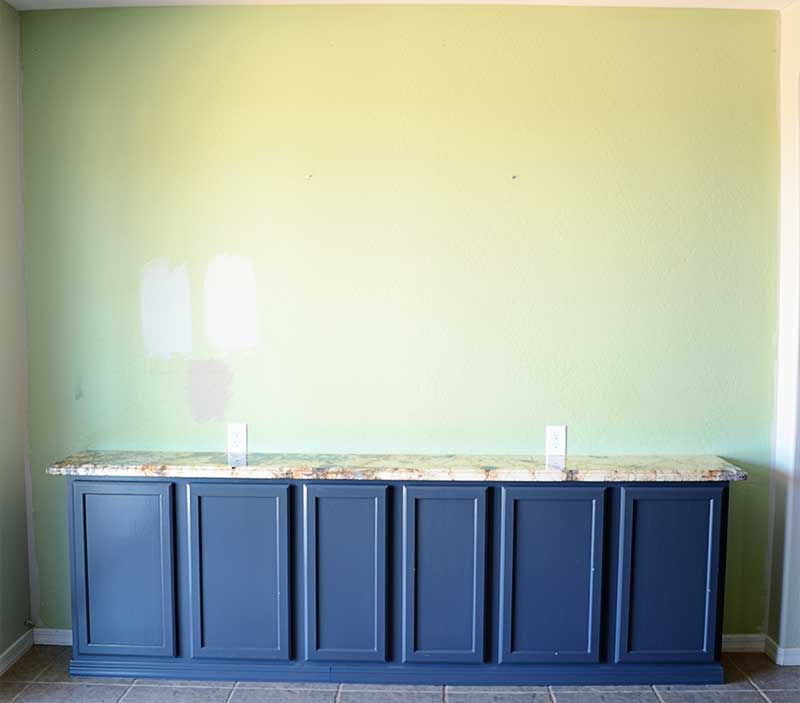
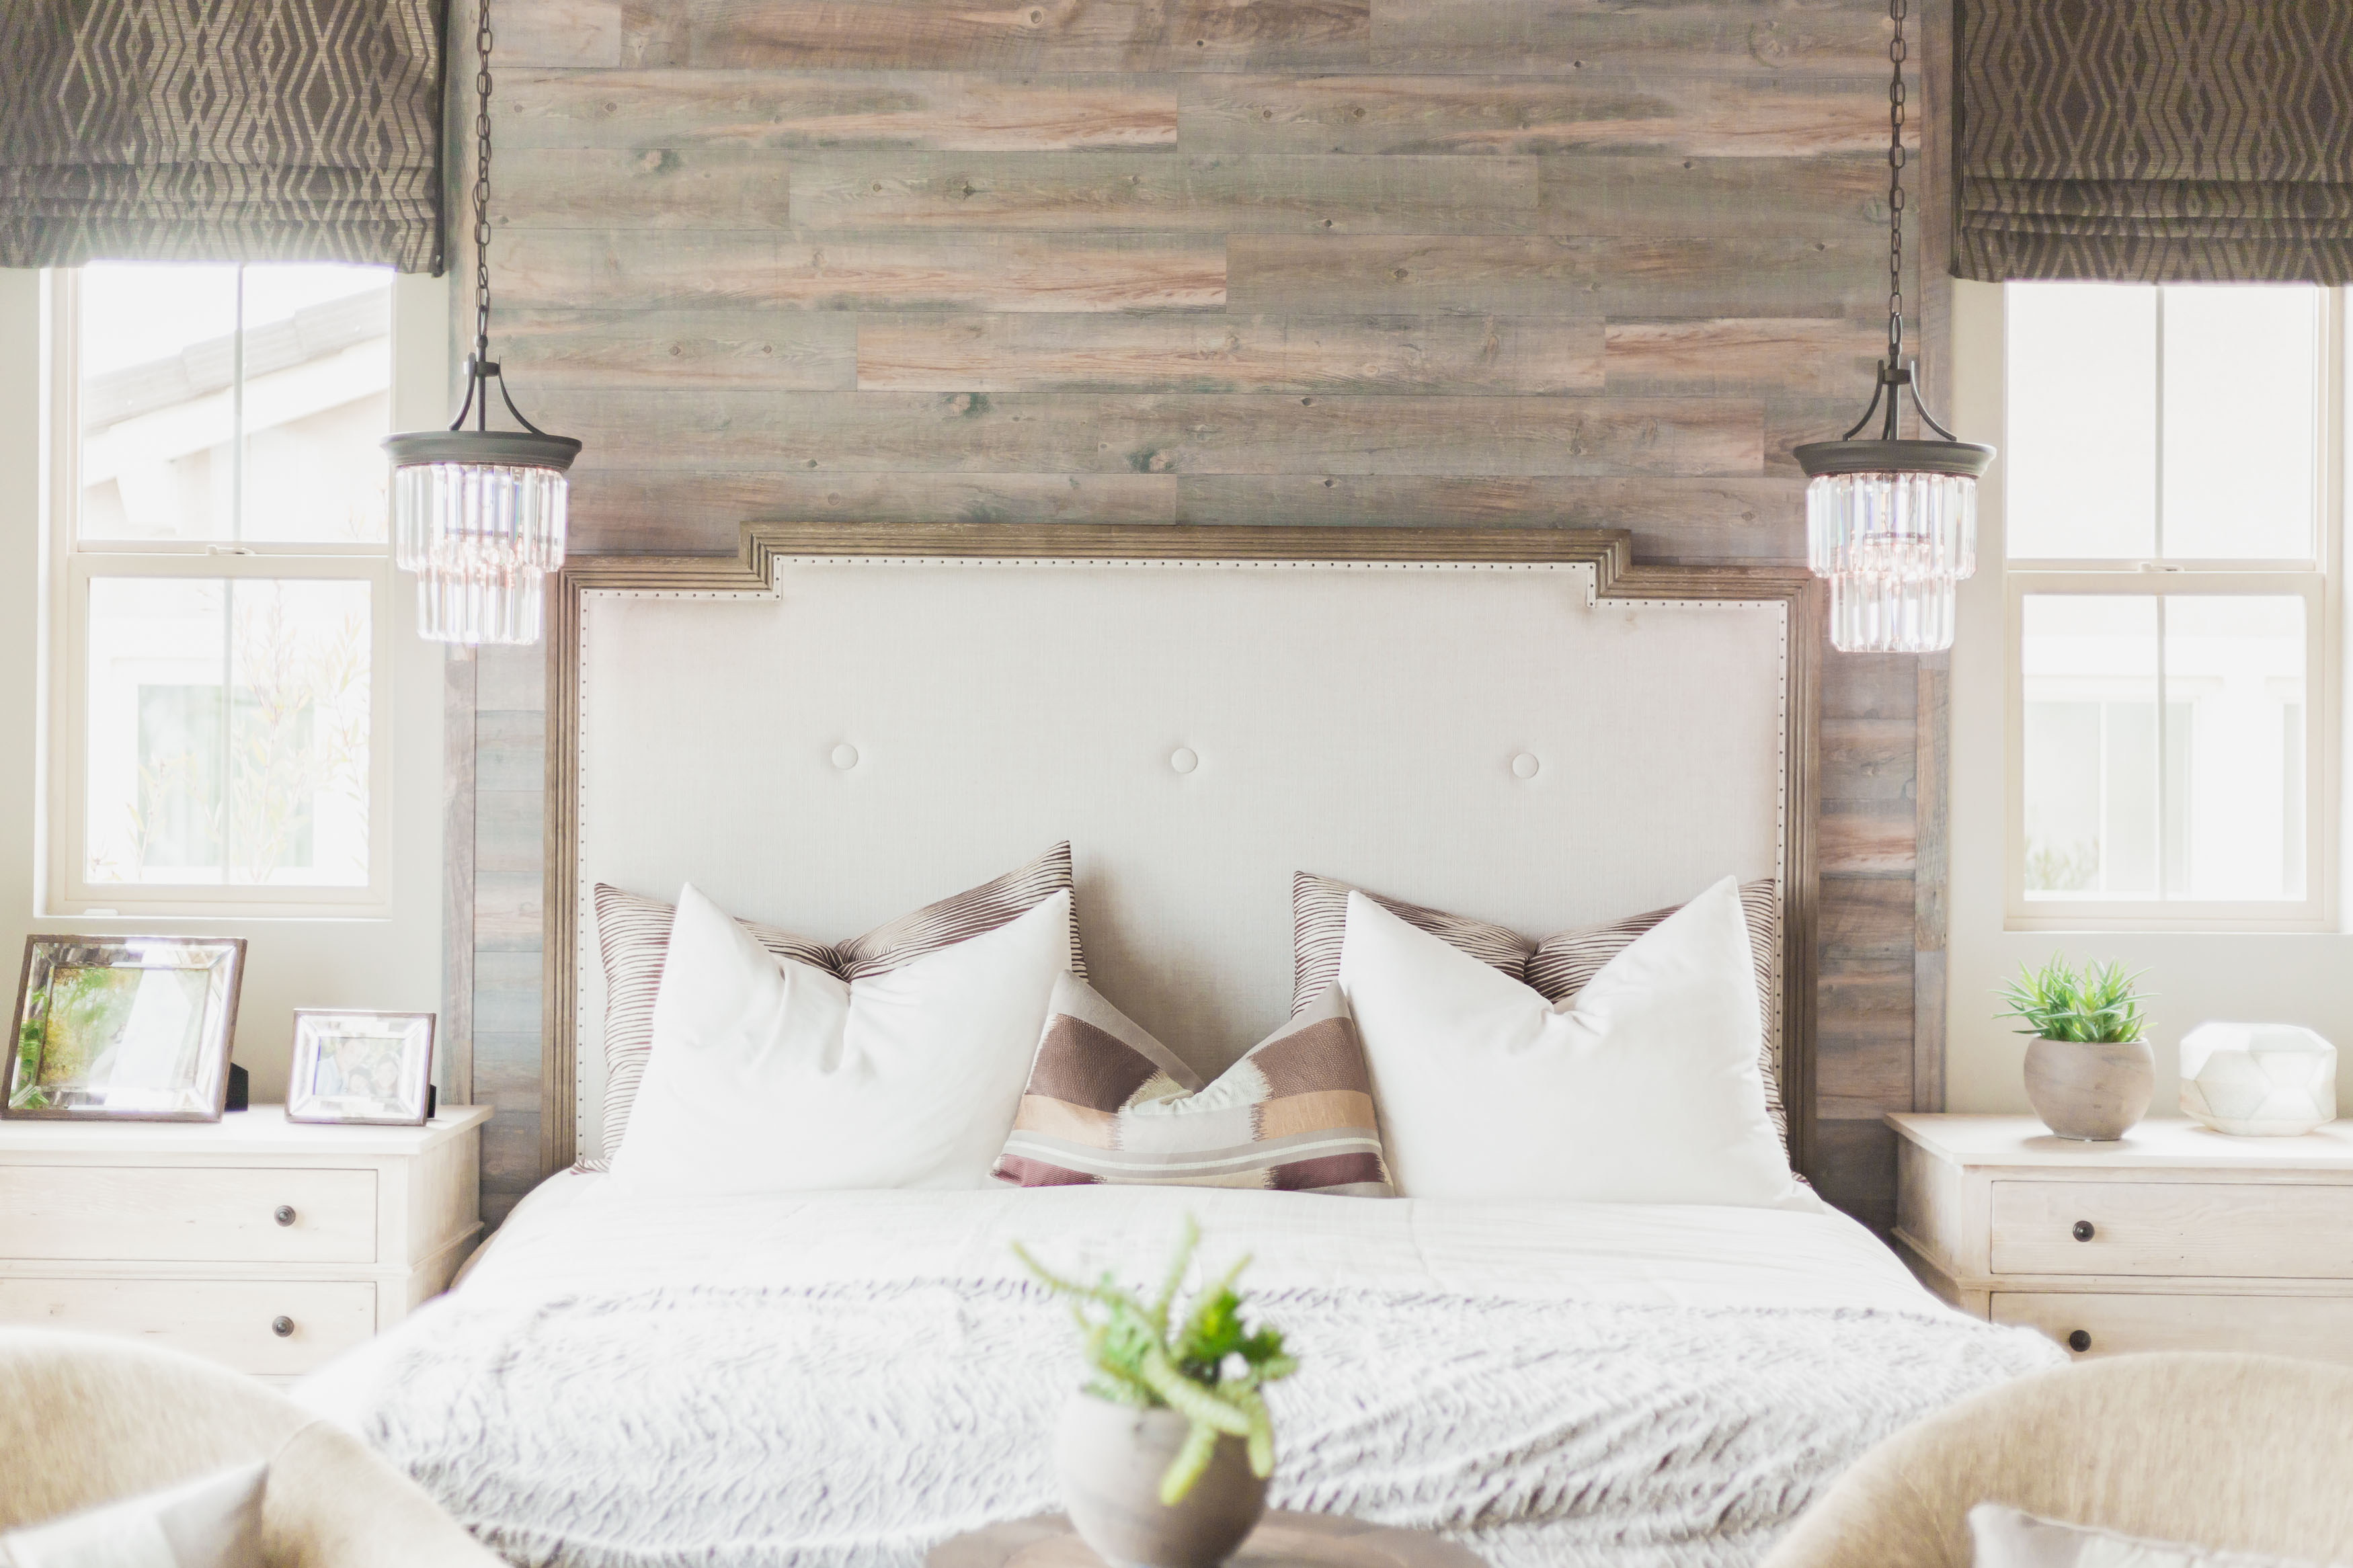
Since he recently repainted the room my now favorite neutral color, Sherwin Williams Accessible Beige, it was the perfect time to add that accent wall I’ve been dreaming about! At first I thought I’d just just go with paint. I even thought about using wallpaper to add some interest. Either of those would have worked, but I’ve been checking out all the beautiful plank walls on Pinterest and the internet. I love the warm and inviting feeling the wood created so I decided to go that route. Boy am I glad I did! I’m not quite finished with it, but it already looks wonderful.
Your Materials Make All the Difference
This is what I used:

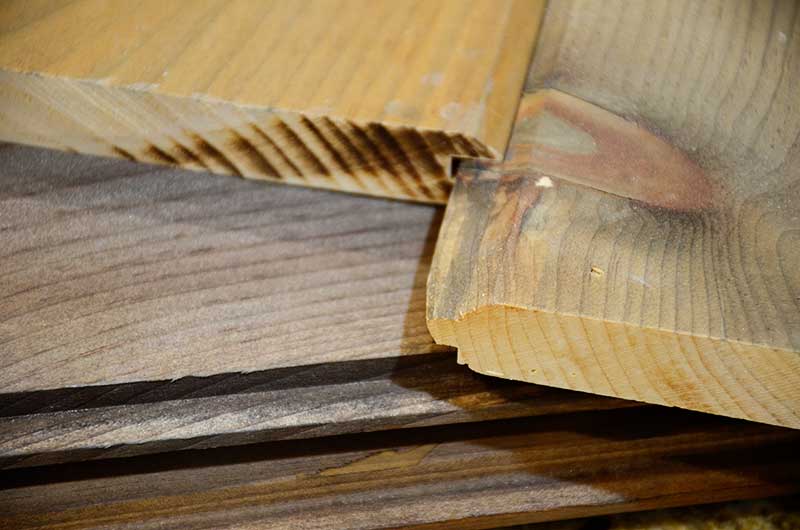
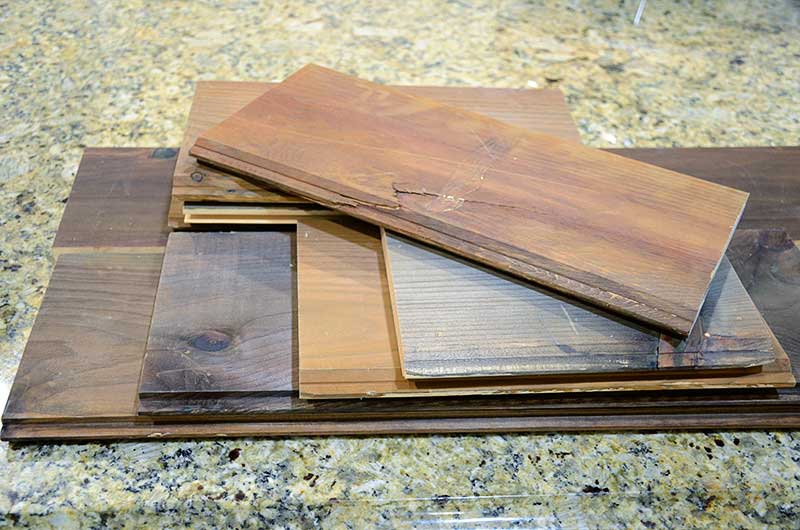
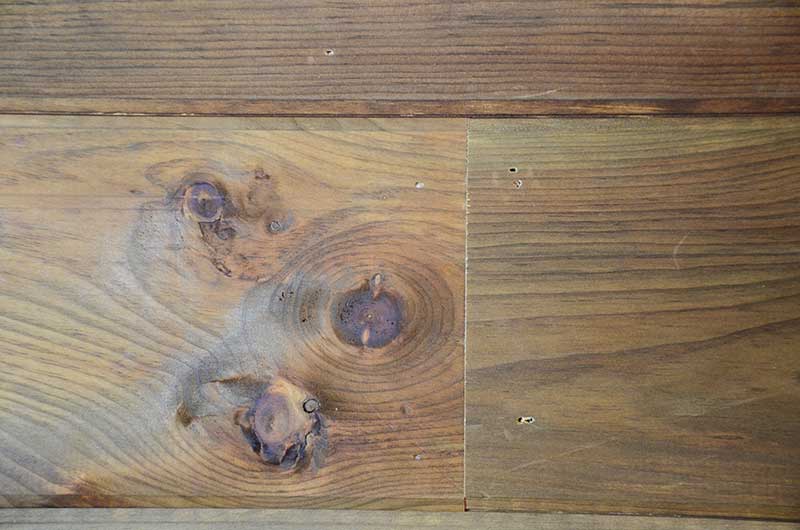
- Planking: For this kind of project, you could choose from many different materials, depending on the mood you want to create. You could use anything from plywood to engineered wood flooring. Your look can range from modern to rustic…it just depends on what you want and the materials you choose. I decided to go with Lumber Liquidators unfinished pine plank flooring for a rustic feel. It wasn’t in stock, but thankfully only took about a week to come in because I was more than ready to get this project going. I really liked that this flooring had a tongue and groove so I didn’t have to worry about any of the back wall peeking through.
- Nail gun and brads
- Stud finder
- Instead of using a purchased stain, I used the vinegar and tea method of staining the boards. I know you’re dying to know how to perform this neat little trick, and I promise I’ll tell you how to do that next time.
How I Created my Wood Plank Wall
There are different ways to do a wood plank wall, none of them right or wrong. Do what works for you. My favorite saying is “It’s my house…if I break it, I already paid for it!”
Important note: Everyone does not like the rustic look. I know we have plans to sell this house in the next few years so I did not use any glue on the planks. If the new owners ever want to change this wall, the planks can be removed without damaging the drywall underneath. The wood is just nailed into the studs with finish brads.
I began by finding the studs with the stud finder. Each long board spanned at least two studs and the shorter boards were nailed into at least one.
The planks were placed from the top to the bottom. I know “the proper” way would be to draw a level guideline since the ceiling line is probably not level. Well, I didn’t do that. I started along the ceiling line and went for it. There was about a 1/2 inch difference from the right to the left side when I reached the buffet top. I compensated for that by cutting the boards next to the buffet top on a slight slant. Problem solved!
I cut the boards as I went along and loosely followed a 3-2-3 pattern but changed it up to fit the board pieces I had on hand. Whatever pieces I had, I used. I just tried not to put all pieces of the same length together.
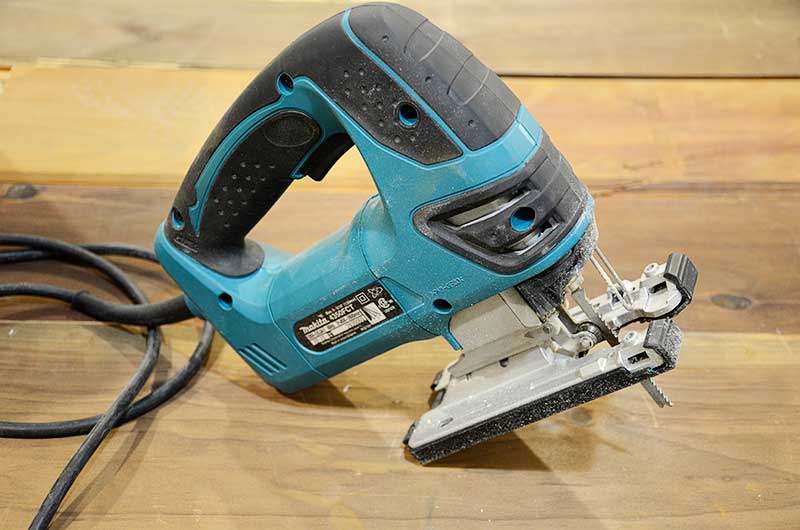
My jigsaw is one of my favorite power tools to use! I used it to cut the boards to fit around the buffet top and to cut out the electrical outlets.
After all the boards are installed, I’ll do touch up and then use a coat of wax or polyurethane to protect the wood.
I didn’t worry about dents in the wood or nail holes. The nails were tiny so they weren’t a concern. In fact, the nails actually add some character. They go with my rustic theme.
Wood Plank Wall Challenges Overcome
This was an easy, fun project. It was something I could do without worrying about being too precise. I wanted a rustic, beat up, not quite perfect look and feel. So the the few challenges were not a big deal. Not all the wood was straight and some of it was bowed! I used the bowed wood for the small piece. That worked because there wasn’t a long span to work with. My walls are not straight so where the wood butts against the wall, not all of the planks end in the same place. I think I’ll add some thin molding painted the same color as the wall to hide where the edges of the wood are not exactly flush.

I can’t wait for you to come back next week to see the finished product!


Wow! Love how this turned out! Great job. 🙂